Customize Consent Preferences

We use cookies to help you navigate efficiently and perform certain functions. You will find detailed information about all cookies under each consent category below.

The cookies that are categorized as "Necessary" are stored on your browser as they are essential for enabling the basic functionalities of the site. ... 

Always Active

Necessary cookies are required to enable the basic features of this site, such as providing secure log-in or adjusting your consent preferences. These cookies do not store any personally identifiable data.

No cookies to display.

Functional cookies help perform certain functionalities like sharing the content of the website on social media platforms, collecting feedback, and other third-party features.

No cookies to display.

Analytical cookies are used to understand how visitors interact with the website. These cookies help provide information on metrics such as the number of visitors, bounce rate, traffic source, etc.

No cookies to display.

Performance cookies are used to understand and analyze the key performance indexes of the website which helps in delivering a better user experience for the visitors.

No cookies to display.

Advertisement cookies are used to provide visitors with customized advertisements based on the pages you visited previously and to analyze the effectiveness of the ad campaigns.

No cookies to display.

How to use the Mini-CRM to track communications and history

How to use the Mini-CRM to track communications and history

Mini-CRM to track communications, message history and notes

Accessing the CRM from the Applicant Profile screen

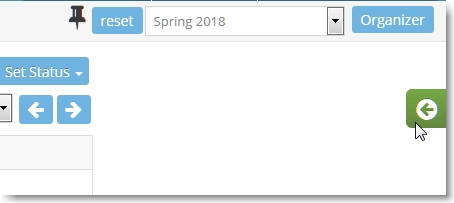
When you browse the profile of each applicant, just click the tab on the right to unhide the screen.

Click on the green tab on the right to open the CRM.

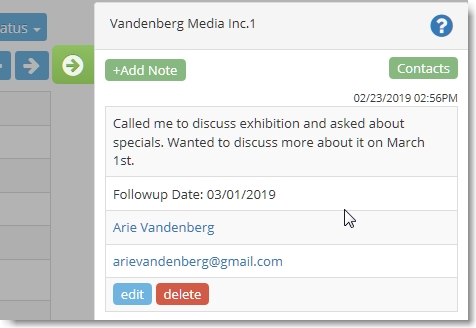
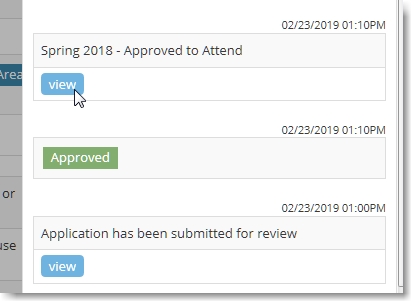
When it opens up, you’ll see communications sent to this applicant from R1 and actions such as “Approved”. Each entry has a date stamp. The list includes email sent to them by you and messages sent as they fill out application forms. Remember that communications are setup from Forms>Vendor Notices.

Additional contacts can be added to this applicant by clicking on the Contacts screen.

You’ll find communication history, contacts and notes.

Adding a Note as reference or as a planned followup

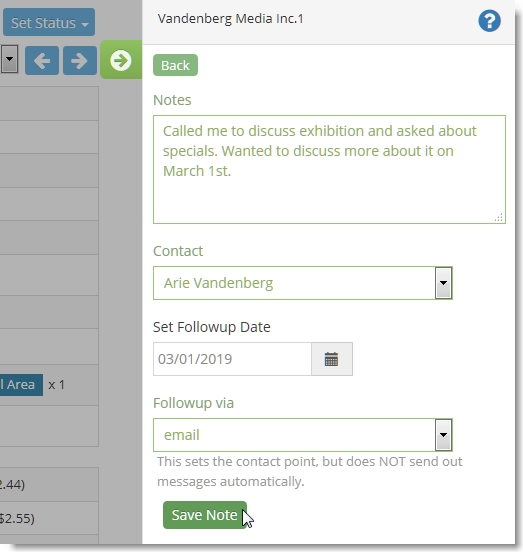
If you need to log a communication, “note to self”, or add a followup reminder to contact them on a certain date, click Add Notes at the top. This will open up a form where you can type in your note, select a contact and followup date. If it’s a reference note, you can leave these extra fields alone and just save it.

Note: you can sort by Followup Date on the main Applicant list by customizing the display columns.

Notes can include followup methods such as email, Linkedin, etc.

Message History

Click View to display the message sent.

Customizing the display columns on Applicants list

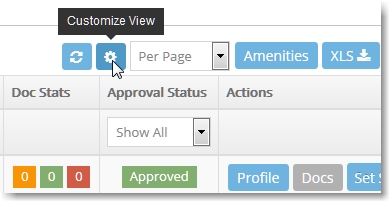
If you want to display the Followup Date on the main Applicant list, click on Customize View button and select the columns you want to view. This will change the default column listing.

Customize the columns displayed on the Applicants list.

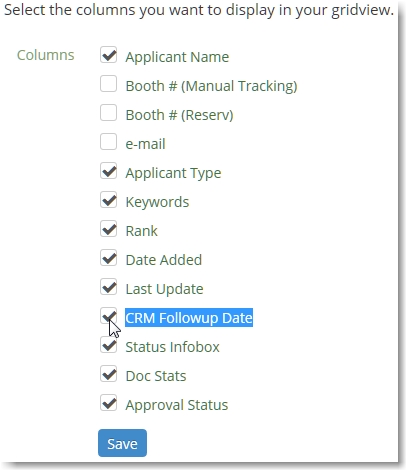
When you first open up Customize View settings, all will be blank because you’re viewing the default display. Select the columns you want to view. The rest will be hidden. Note the column CRM Followup Date.

Select the columns you wish to view.

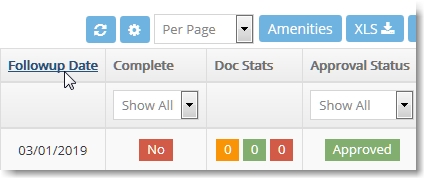
After saving, you’ll see the Followup Date that you can sort on.

Click to sort by Followup Date.


Share this post

Leave a Reply